
The Course Documents are the files teachers add for the students to access during the semester; they are related to the curriculum videos. Here are the steps on how to add such files:.
To Add/Edit/View Course Materials: #
- From the teacher’s home page, hover over any of the subjects.
- Click Manage Content, and then click the Course Documents tab.
3. If you need to add different types of files related to the video, click the Upload Multi Materials option.
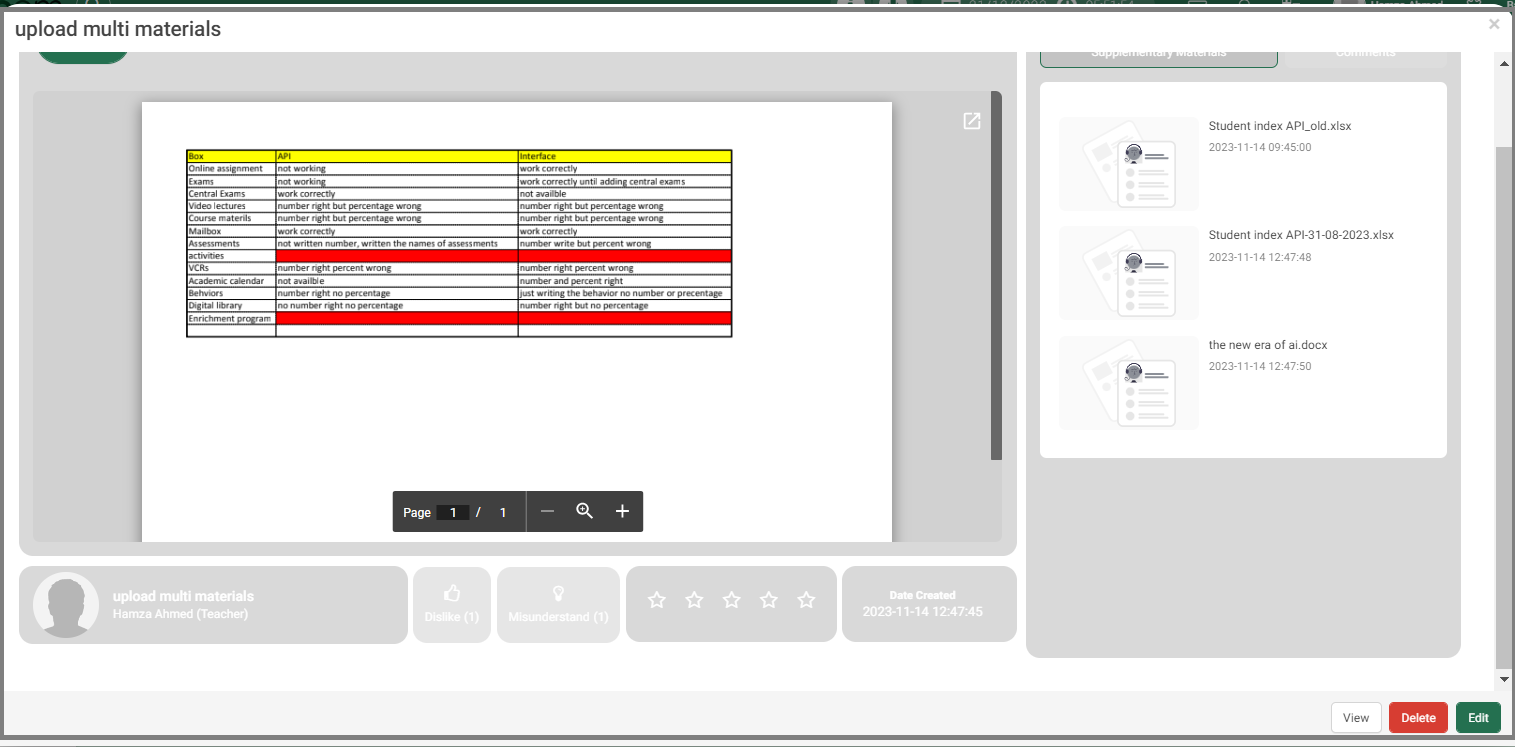
Note: The bar below the dialog box includes five indicators: (1) the name of the publisher and his position; (2) the like option with a counter; (3) an understanding indicator, usually used by students; (4) the star rating indicator; and (5) the date of creation of the material.
Edit Material #
4. Click the Edit button to edit the details of the material for the selected content. The Edit Material dialog box opens.
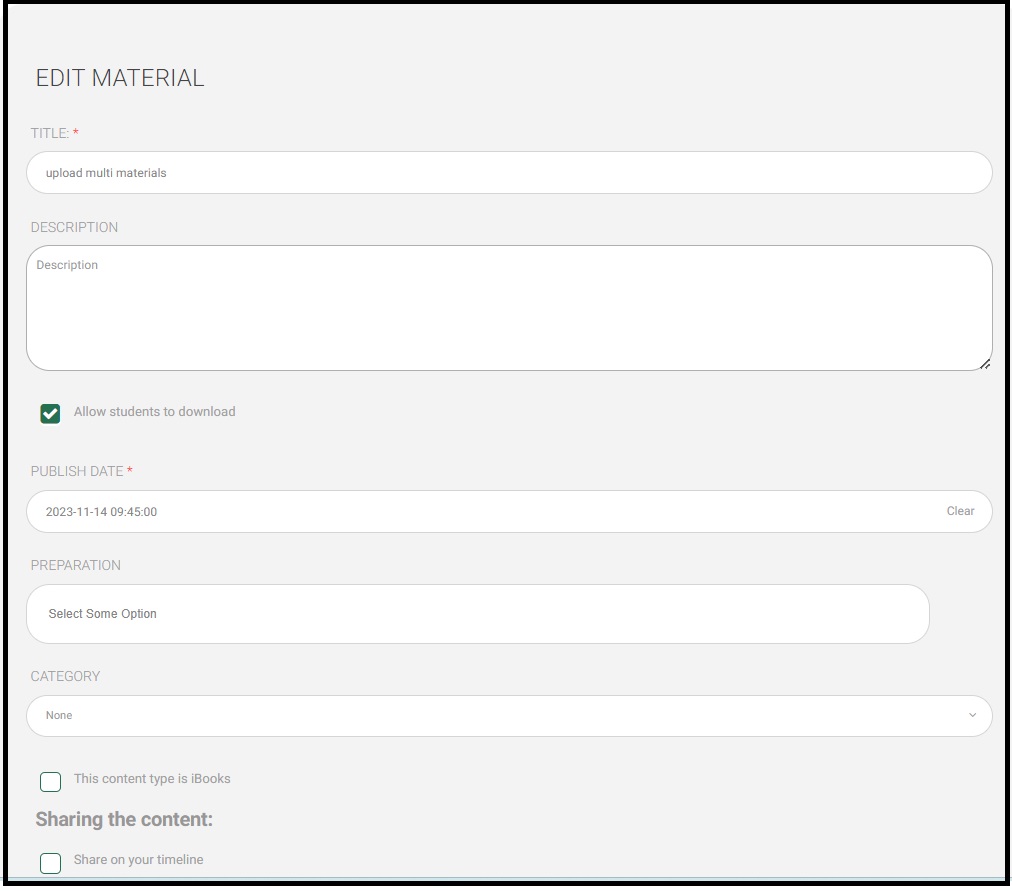

- The title is set by default; however, you can change it, and the same is true for the description of the material (optional).
- Select the Allow students to Download checkbox to enable the downloading option for your students, and vice versa.
- When you click the Publish Date field, the default calendar pops up. Select the targeted publishing date.
- Select your preparation related to this content. It will be selected by default if you are already adding it from your lesson preparation.
- If this content is an IBook, check its box to insert the IBook link.
- Define the categories. This is useful if you would like to classify the contents into different types.
Note: You have to select one of the available sharing options.
- Select the Share on Your Timeline checkbox to publish this material on your timeline.
- Select the sharing level from the corresponding two drop-down lists.
- Define the area and criteria in the corresponding fields.
- Click on Publish to either sections, students, or groups according to preferences.
- Otherwise, select the Select All checkbox to select all the grades you are teaching
to share this material with, or select one of the grades below. - Click the Approve All Changes button to apply all the changes you entered.
- You will be directed to the main course documents page to view all your documents status.
Viewing Documents #
1. Click on any of the files to the right to preview and see highlights.
2. Click on the icons to the right: either to open the annotation side bar, to see the highlights, or for a new page note.


