This is the main page on which you can edit your personal profile.
To Edit Your Profile:
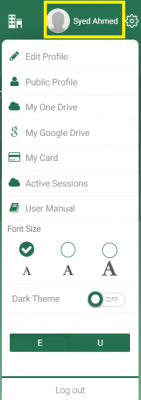
- At the top of the page, you can see your profile picture and your username. Click on your user name to open the menu.
- Click Public Profile to check what your public profile looks like. You will be directed to your profile.
- Click My Google Drive to set up your Google Drive and be able to use it for other activities on the platform.
- Click My One Drive to set up your One Drive and be able to use it for other activities on the platform.
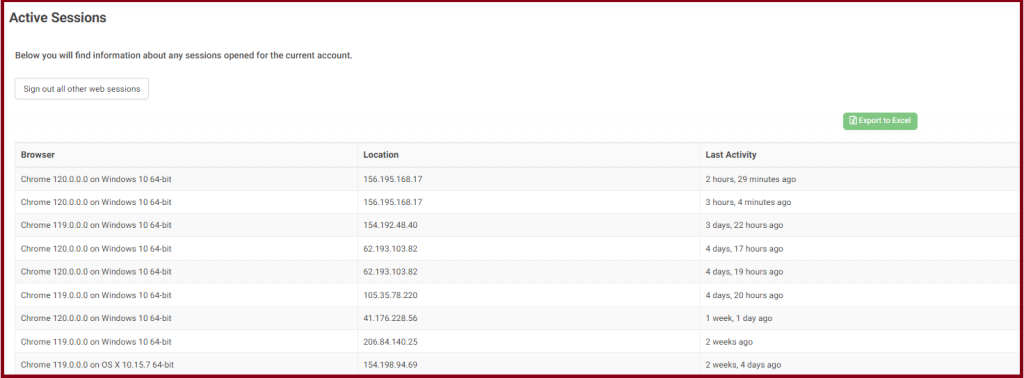
- Click Active Sessions to view your current active sessions, along with the browser URL, its location, and the time of the last activity.
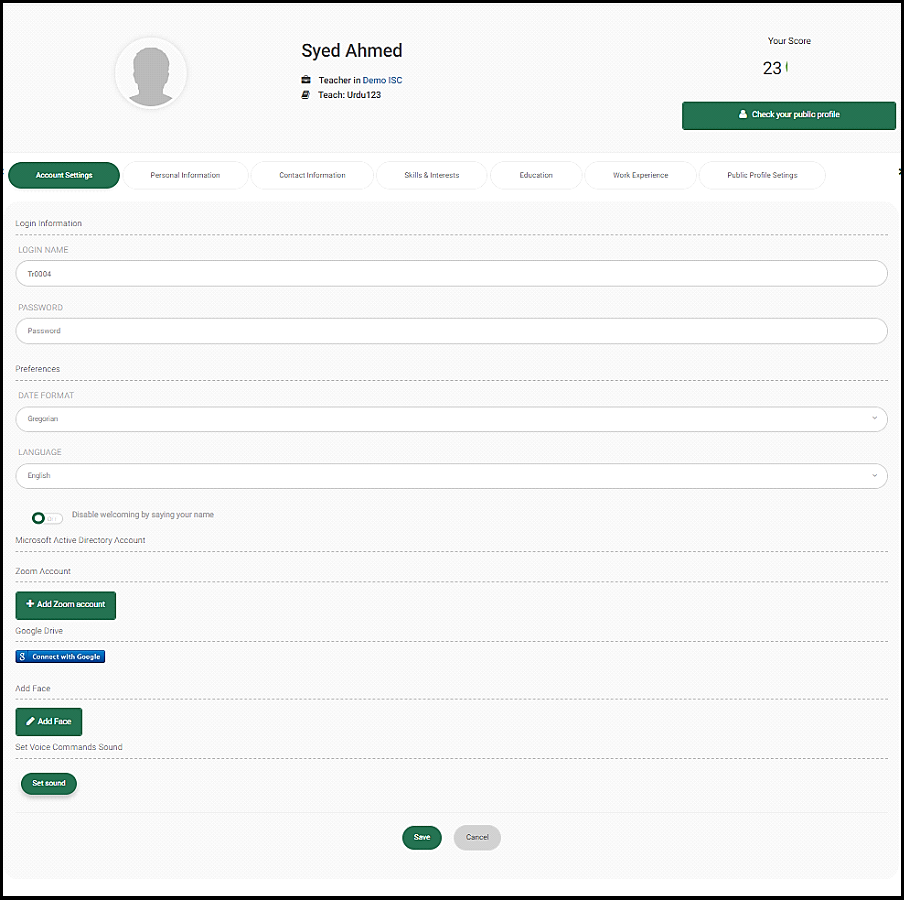
Account Settings: #
eTaleem also allows you to add your Zoom account and reset your password. Be careful!! Do not disconnect or reset your account unless you have been asked to do so by your school administrator or have forgotten your password.
Note: You need to insert your Gmail or MS account to enable logging in using one of them. You will receive a red message later to verify your email.
When you finish editing your account settings, click Save to update your edits.
Personal Information #
The Personal Information tab enables you to add or update your personal information such as name and last name, data and place of birth.
Contact Info & Social Media Accounts #
The Contact Information tab contains all the personal information you must add, in addition to social media accounts data to complete your profile.
- Type your address, phone number, mobile number, email, information about yourself you want to add, and social media accounts, each in its corresponding box.
Social Media Data
- Enter your social media data, such as Facebook, Instagram, etc., for more engagement with your students.
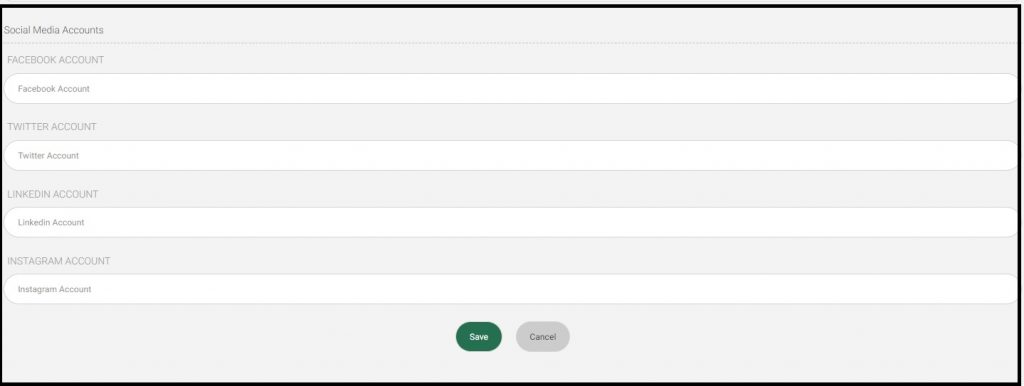
When you are finished, click Save.
Skills and Interests #
The Skills and Interests tab enables you to add your skills, your proficiency level on each, and your interests with a short description for each.
Note: You can export your skills and interests into an Excel sheet, each one separately.
- Click on the Export to Excel button to export those data into an Excel sheet.
Education #
The Education tab enables you to add your education history for further data on your professionalism.
- Click the Add Education button, and the Add Education dialog box opens.
- Enter the location where you got the degree that needs to be added by entering country, city, and school or college.
- Select the duration of attendance to get this degree by selecting the years from the Dates Attended ‘From and To’.
- Enter the degree name, field of study, and a short description in the corresponding fields.
- Click Save to add one degree at a time. You can add more and more by repeating the same actions again.
Work Experience #
The Work Experience tab enables you to add your work experience chronologically.
- Click the Add Experience button to add one position that you occupied earlier, one position at a time.
- Select the duration of this position by selecting the years from the From Date ‘From and To’.
- Select the To Date checkbox if you are currently working there.
- Enter the job title and company name for the school or organization as well.
- Select the type of job from the Job Type drop-down list, for example, full-time
- Click Save to add one job at a time. You can add more and more by repeating the same actions again.
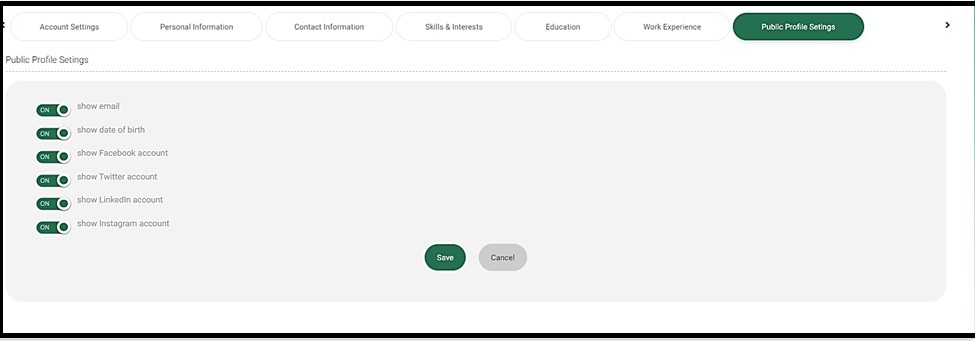
Public Profile Settings #
The Public Personal Settings tab enables you to choose what to show or hide on your public profile page.
Switch the toggle button to On next to the information you want to be displayed on your profile, such as email, Facebook, etc., and to Off for vice versa.