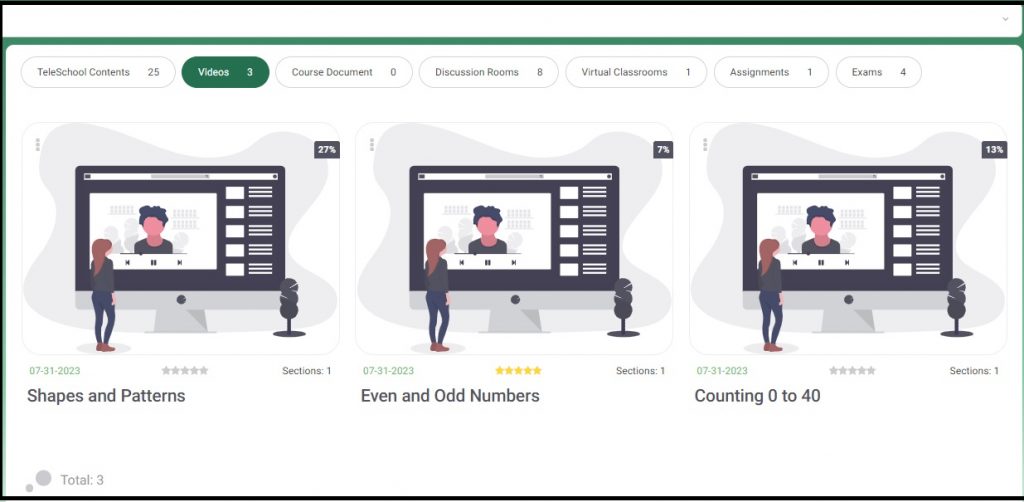
The Videos tab is used to prepare interactive videos related to the courses you are teaching. These videos are directly linked to and related to the books, the courses, and the curriculum that students are studying in that specific course, according to their curriculum videos.
They will find their corresponding actual book in PDF format in the Course Document tab.
How to open the Videos tab: #
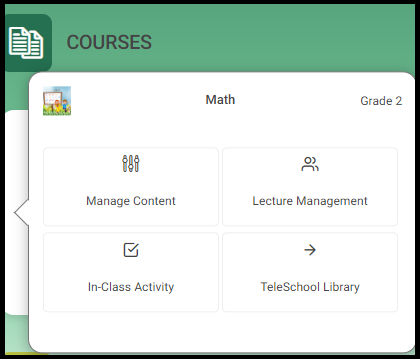
- From your courses on your home page, click the required course to add new content or to display the added ones.
Note: The Preparation list to the left of your home page includes all the subjects the teacher instructs; he or she can select any of them and manage their content.
2. Click on the Video tab to add/display/edit the videos related to the selected course.
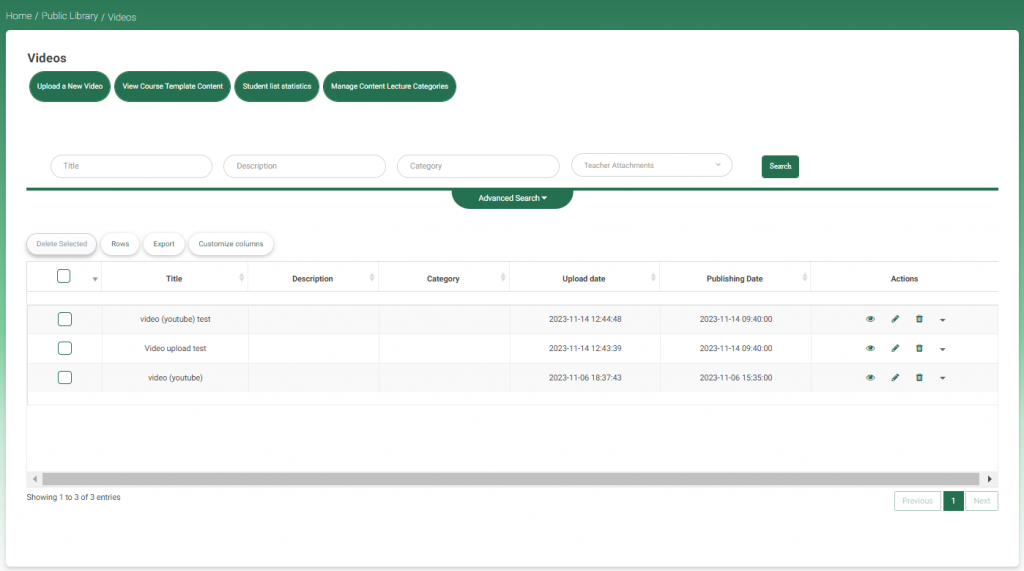
- “Click on Videos on the top path (highlighted in red in the path above). You will be directed to the whole library of videos. explained below.
Statistics and Questions #
- Click on the three-dot icon on top of the video to see video statistics and questions.
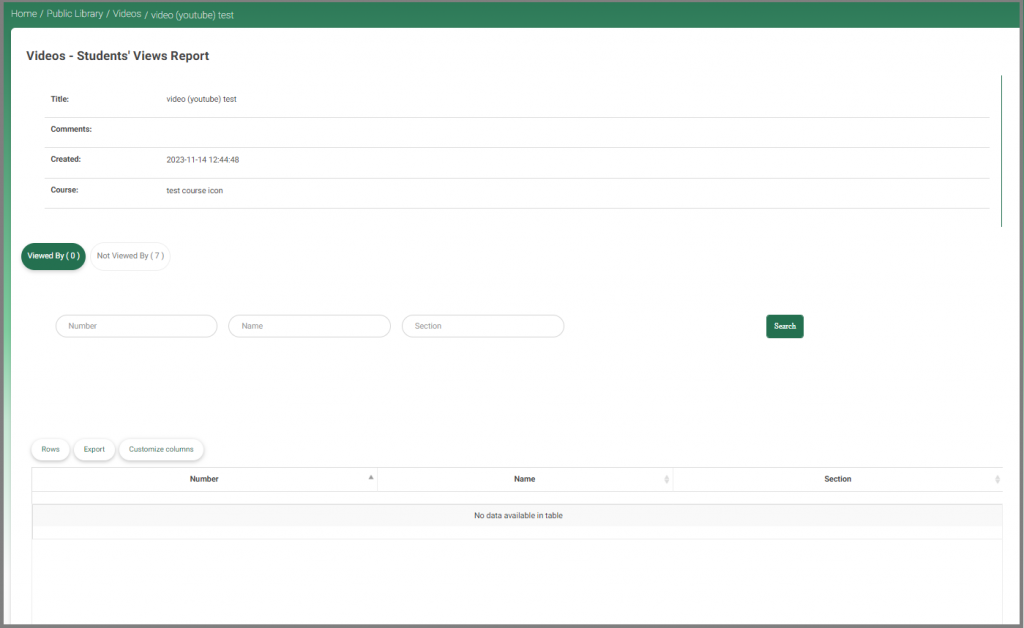
- Statistics: Displays the student number of views for the selected video. You can also search for other videos to see their stats.
- Questions: Displays questions assigned to this video; if there are no questions assigned, a message will display telling you this, with a button to create questions.
Statistics #
The statistics page displays the student number of views for the selected video. You can also search for other videos to see their stats.
Questions #
- Click Preview to preview the question, or
- Click Publish to publish it to your students.
- Click Add Questions to add more questions. As shown below, you should enter the question in the text field, then the correct answer and up to four options in the corresponding fields, and then click Save.

#
Adding comments to your video: #
- Click on any of the videos to view and add your comments, so that you can help your students make the best use of the video.
- Click Source to enable the keyboard.
- For calculations to be added to your comments to the video, click on √ highlighted in the adjacent image with a red square; accordingly, the mathematical keyboard is enabled below. Enter the clarifying comments or actions to be taken by your students while watching the videos, and then click OK.
- For the Chemistry keyboard, click C next to the √ highlighted. The Chemistry keyboard is opened.
- Click the link icon highlighted in yellow to add any link to other videos or useful pages that you want your students to preview or watch.
- To add a voice note accompanying your video, click the microphone icon.
- Click the Record icon on the dialog that opens, click the Record button, and when finished, click Stop.
- Click the image icon to add pictures.
- Click the draw icon next to the microphone to draw yourself.
- Click the table icon to insert a table. And click on Advanced Table Settings to format your table.
- The other icons are for regular editing of the text, like MS Word.
To see all your videos:
Adding Links to your video #
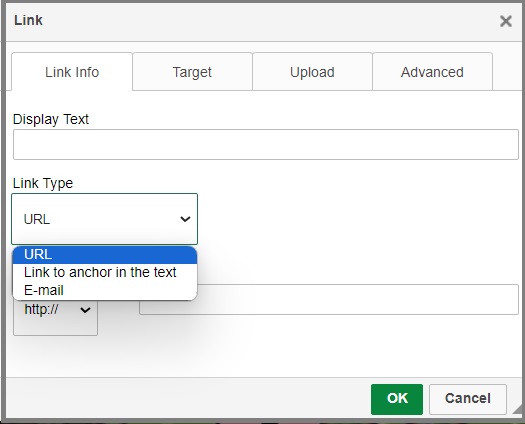
- After clicking the link icon, the Links dialog box is opened.
- Add the text to be displayed for the students when they stand over the link.
- You can add URLs and links to the anchors of the text (if there are any) or email address, according to your target.
- Enter the corresponding link to what you selected in the above step.
- Select the Internet protocol and the URL in the corresponding fields.
- Click the Target tab to determine how the link is going to be displayed—in the same window, embedded, in another window, etc.
- Click the Upload tab to choose the files you want to upload with the added link to be sent to the server.
- Click the Advanced tab to enter some advanced details.
- Give your link an ID, and then select the language direction from the corresponding fields.
- Give it a name and an advisory to be indicative for the students.
- Enter the style and stylesheet classes.
- Enter the relationship and character set in the corresponding fields as well.
- Select the Force Download check box in case you want the students to download it.
- Click OK to save your entries.
Note: To get back to the video main list, which includes all your public videos,.