Table of Contents
Note: This feature will be pre-configured by default. The coming steps are just for future reference.
Alongside the stages, years should be added. It’s one of the most important steps to keep the content of every year organized and in place.
Main Menu >> Settings >> Years
To Add a New Year : #
- Click the Add Year button on the Years page.
- Add a title for your year.
- Set the starting day of the year.
- Set the ending day of the year.
- Click the Submit button.
- Your Years are shown in the Years table, and you will be ready for the next step !!
Note: You can advance students at the end of every year to the next one from the Advance Students to Next Year button. All you need to do is select the students and the From and To whereabouts.
- Click the small arrow next to the year from the Action column in the table to move to the next step and add semesters.
To Add an Academic Session:
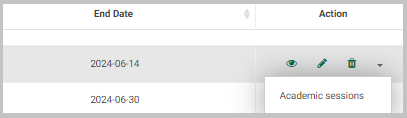
- Click Academic Sessions from the Action drop-down list on the Years page.
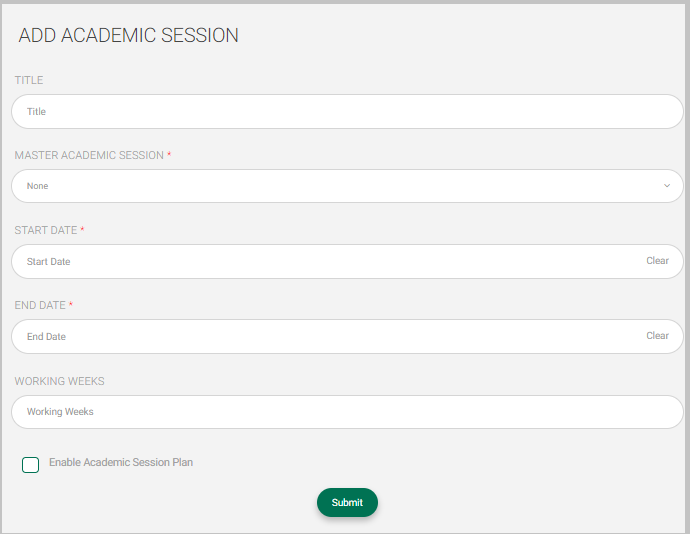
- Click Add Academic Session.
- Type a title for your Academic session.
- Select an Academic session template from the Master Academic session drop-down list.
- Set the Start date of the semester.
- Set the End date of the semester.
- Check the Enable Academic Session Plan checkbox if you want to enable the semester plan for this semester.
- Click Submit.
- Your Academic session shows in the Semester table and is ready for any action.